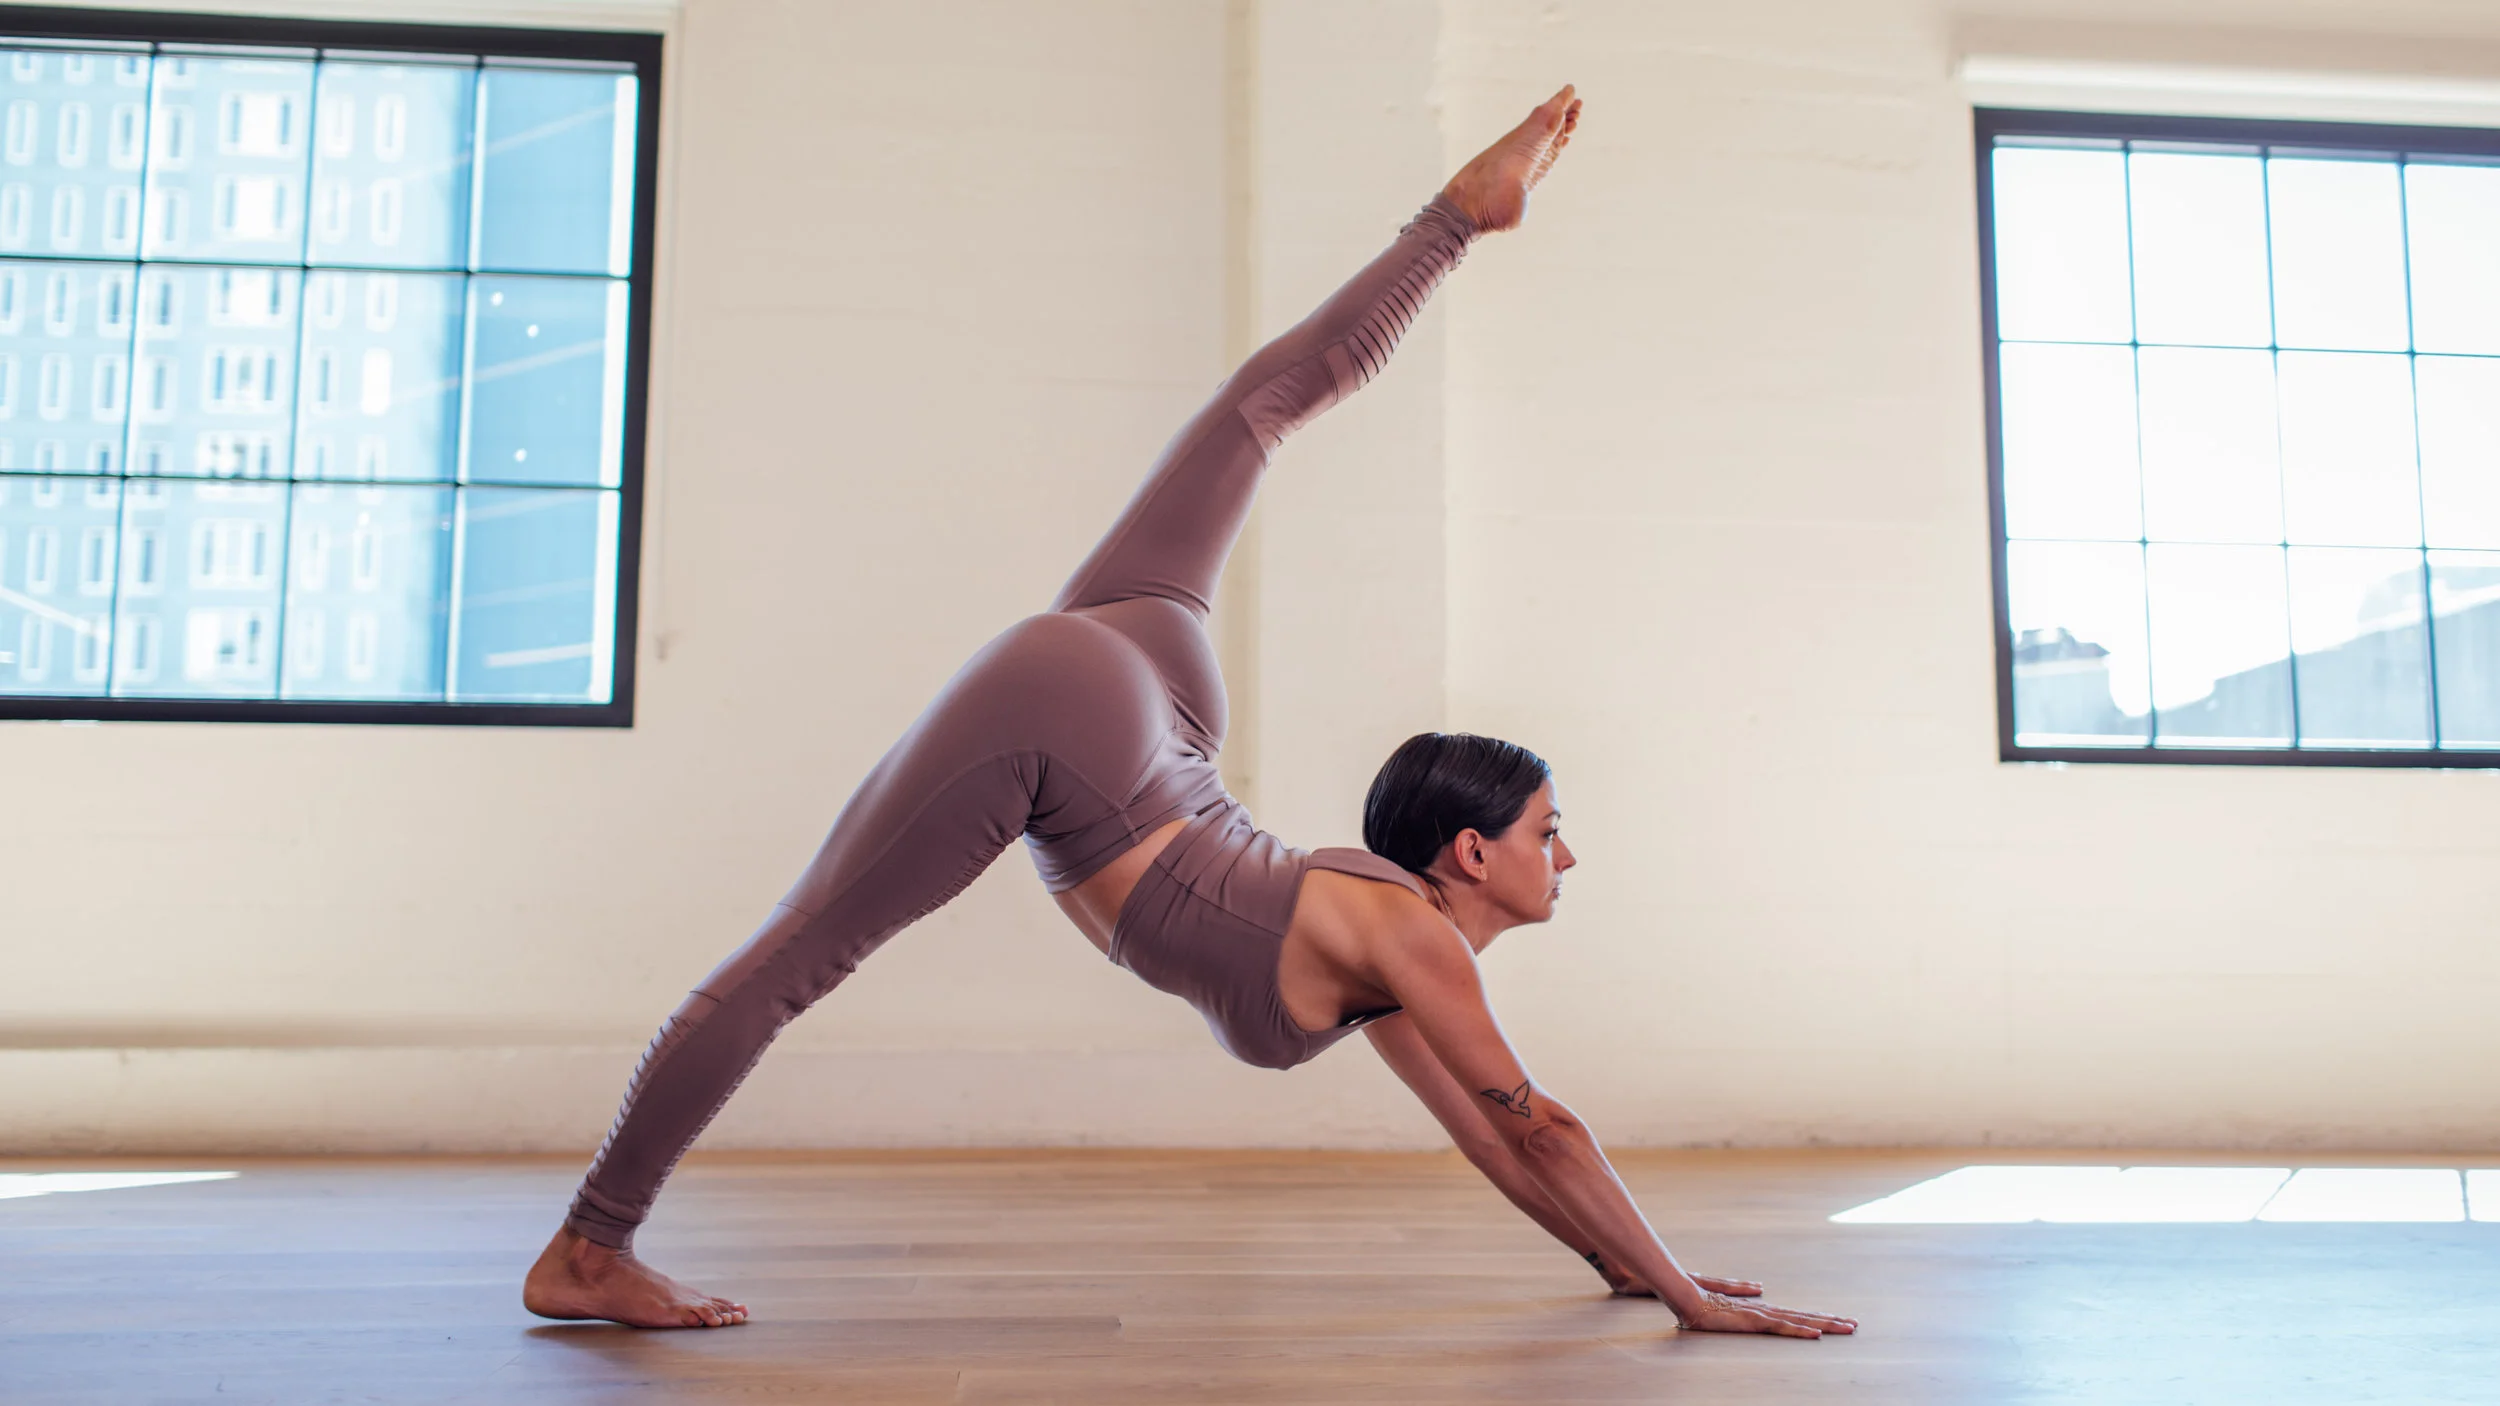
Tight hips are extremely common today, especially for people who sit at desks, drive often, play sports, or sleep curled on their side. Many beginners don’t realize how much hip tension affects posture, walking, running, and even lower back comfort.
The good news? You don’t need to be flexible or experienced to start loosening them. Simple beginner-friendly yoga for tight hips can help improve mobility and ease daily stiffness naturally.
This guide explains why hip tightness happens, which yoga poses help, and how beginners can build a routine at home.
(General wellness information only — not medical advice.)
Why Tight Hips Happen
Hip tightness often comes from lifestyle patterns like:
✔ long hours of sitting
✔ weak glute muscles
✔ tight hip flexors
✔ limited movement variety
✔ intense lower-body exercise
✔ side sleeping habits
✔ poor posture awareness
When hips tighten, nearby areas (like lower back or hamstrings) often compensate, reducing mobility and comfort during everyday movements.
Why Yoga Helps Tight Hips
Yoga supports hip mobility through:
✔ slow static stretching
✔ gentle range-of-motion work
✔ breath-linked movements
✔ mind-body awareness
✔ relaxation of tense tissues
Unlike intense stretching, beginner yoga focuses on controlled, mindful lengthening — which is safer and more accessible.
10 Best Yoga Poses for Tight Hips (Beginner Friendly)
These poses target hip flexors, glutes, inner thighs, hamstrings, and lower back — all major hip tension zones.
1. Low Lunge (Anjaneyasana)
How to do:
- Step one foot forward into a lunge
- Drop back knee to mat
- Lift chest gently
Benefits:
✔ opens hip flexors
✔ counteracts sitting posture
✔ supports pelvic mobility
2. Lizard Pose (Beginner Variation)
How to do:
- From Low Lunge, place both hands inside front foot
- Keep back knee down for support
Benefits:
✔ deeper hip flexor release
✔ targets inner thighs
✔ improves posture over time
3. Pigeon Pose (Modified)
How to do:
- Start on hands and knees
- Slide one knee forward
- Extend opposite leg back
- Keep hips elevated with pillow if needed
Benefits:
✔ stretches glutes + external rotators
✔ helpful after running or leg workouts
4. Figure-4 Reclined Stretch
How to do:
- Lie on back
- Cross ankle over opposite knee
- Pull legs toward chest gently
Benefits:
✔ releases outer hips + glutes
✔ great for beginners with tight hips
5. Butterfly Pose (Baddha Konasana)
How to do:
- Sit on mat
- Bring feet together
- Let knees fall outward
Benefits:
✔ stretches inner thighs (adductors)
✔ improves hip joint mobility
Use blocks or pillows if knees are very high.
6. Wide-Legged Forward Fold
How to do:
- Sit with legs wide
- Hinge forward from hips
- Keep spine long
Benefits:
✔ opens inner thighs
✔ stretches hamstrings + lower back
7. Cow Face Legs (Seated Variation)
How to do:
- Sit with knees stacked (as comfortable)
- Keep chest tall
- If too hard, just cross legs normally
Benefits:
✔ targets deep hip rotators
✔ helpful for uneven hip tightness
8. Hero Pose (Supported)
How to do:
- Kneel with feet outside hips
- Sit on pillow or block
Benefits:
✔ stretches quads + hip flexors
✔ easier than full kneeling stretches
9. Seated Twist
How to do:
- Sit tall
- Cross one leg over
- Twist toward knee
Benefits:
✔ mobilizes lower back
✔ complements hip work
10. Happy Baby Pose
How to do:
- Lie on back
- Hold feet or thighs
- Gently open knees outward
Benefits:
✔ opens hip joints
✔ reduces tension after workouts
Beginner Hip Mobility Routine (8–12 Minutes)
Try this if you sit long hours:
- Butterfly Pose — 1 minute
- Low Lunge — 1 minute each side
- Lizard Pose — 45 sec each side
- Figure-4 Stretch — 1 minute each side
- Pigeon Modified — 1 minute each side
- Happy Baby — 1–2 minutes
Total time: 8–12 minutes
Perfect for mornings, after work, or post-workout.
Breathing Makes Hip Stretching More Effective
Most hip tension comes with shallow breathing and unconscious muscle guarding.
Use this breath pattern during stretches:
➡ inhale 4 seconds
➡ exhale 6–8 seconds
Long exhales help:
✔ relax nervous system
✔ soften tense muscles
✔ reduce “stretch resistance”
If you’re new to breathwork, check out our guide on breathing exercises for beginners, which pairs perfectly with tight hip routines.
Tips for Beginners with Tight Hips
✔ avoid forcing deep stretches
✔ use blocks, pillows, or bolsters
✔ stretch after sitting or workouts
✔ practice consistently for results
✔ focus on breath + slow movements
✔ mild discomfort is normal; sharp pain is not
Flexibility is a gradual process — not instant.
Frequently Asked Questions
Why are my hips so tight?
Often from sitting, lack of mobility, sports tension, or weak glutes.
Can hip tightness affect posture?
Yes — especially when hip flexors pull the pelvis forward.
Is it okay to stretch hips daily?
Yes — gentle daily mobility is safe for most beginners.
Should stretching hurt?
No — stretches may feel intense but should not be painful.
How long until I see progress?
Consistency over weeks matters more than intensity in one session.
Final Thoughts
Yoga for tight hips doesn’t require flexibility or experience — just patience, breath, and simple movement. By practicing gently and consistently, beginners can improve mobility, reduce daily stiffness, and support posture and comfort.
Start small, breathe deeply, and allow your body to open at its own pace.